Mastering Dark Art: 13 Pro Tips for Haunting Photography That Will Give You Chills
 Posted On
Key Takeaways
- Scary photography relies heavily on psychological triggers like isolation, darkness, and asymmetry to create unsettling compositions that evoke fear
- Low-key lighting techniques, including side lighting and bottom lighting, are essential for creating dramatic shadows and supernatural effects in horror photos
- The most effective locations for scary photography include abandoned buildings and dark forests, especially during blue hour or foggy conditions
- Strategic use of props like antique dolls, vintage medical equipment, and damaged personal items helps build layers of visual horror
- Post-processing plays a crucial role through color grading (reducing saturation 30-40%), adding texture effects, and creating moody vignettes
When I first started exploring scary photography, I discovered a fascinating world where fear meets art. Through my lens, I’ve learned to capture the eerie essence of abandoned buildings, create ghostly effects and transform ordinary scenes into haunting masterpieces that send shivers down viewers’ spines.
I’ll never forget my first nighttime shoot in an old asylum where the interplay of shadows and light created supernatural-looking images that went viral on social media. It’s amazing how the right camera settings, perspective and timing can turn a simple photograph into a bone-chilling visual story. Whether you’re interested in horror-themed portraits, paranormal photography or dark artistic expression, mastering scary photography opens up endless creative possibilities.
What Makes a Photograph Scary
I’ve discovered that creating scary photography involves mastering specific visual elements that trigger deep-rooted psychological responses. Through my experience, I’ve identified key components that transform ordinary images into haunting masterpieces.
The Psychology of Fear in Images
Fear-inducing photographs tap into universal human anxieties through specific visual triggers. I focus on incorporating elements like isolation, darkness and asymmetry to create unsettling compositions. My approach includes:
- Positioning subjects in empty spaces to evoke feelings of abandonment
- Using negative space to create tension
- Capturing facial expressions that appear unnatural or distorted
- Incorporating cultural symbols of fear like broken mirrors or shadowy figures
- Adding subtle distortions that make scenes feel slightly wrong
Playing With Light and Shadow
- Utilizing hard shadows to form menacing silhouettes
- Creating contrast between bright highlights and deep blacks
- Positioning light sources from below to cast unnatural shadows
- Using backlighting to obscure subject details
- Incorporating fog or mist to diffuse light in eerie ways
| Lighting Technique | Effect Created | Best Used For |
|---|---|---|
| Side lighting | Deep shadows | Creating mystery |
| Bottom lighting | Distorted features | Supernatural effects |
| Back lighting | Silhouettes | Ominous figures |
| Diffused lighting | Hazy atmosphere | Ghost-like scenes |
Essential Techniques for Scary Photography

I’ve developed specific techniques to create haunting images that tap into primal fears. These methods focus on manipulating light, shadow, and composition to achieve spine-chilling results in scary photography.
Low-Key Lighting Methods
Low-key lighting creates intense contrast between light and dark areas, generating an ominous atmosphere. I position my main light source at a 45-degree angle from the subject to cast dramatic shadows across their features. Using a black backdrop absorbs excess light while a single LED light with a snoot concentrates the beam for precise control. I maintain an aperture of f/8 or higher to preserve sharp details in the shadows while keeping ISO below 400 to minimize noise in the dark areas.
Creating Unsettling Compositions
I structure unsettling compositions using the rule of tension rather than traditional composition rules. Placing subjects off-center at the 7/10 mark creates immediate visual discomfort. I incorporate negative space on the opposite side of the frame to suggest an unseen presence. Tilted horizon lines at 15-20 degrees add psychological distress while shooting from below eye level at a 30-degree angle makes subjects appear more menacing. Selective focus techniques blur background elements into threatening shapes enhancing the scary atmosphere.
| Technique | Effect | Camera Settings |
|---|---|---|
| Low-Key Ratio | 1:8 shadow-to-highlight | f/8, ISO 400 |
| Dutch Angle | 15-20 degree tilt | Any aperture |
| Upward Angle | 30 degrees from below | Wide aperture |
| Edge Framing | Subject at 7/10 mark | f/5.6 or higher |
Best Locations for Horror Photography

I’ve discovered specific locations that create the perfect backdrop for scary photography, each offering unique opportunities to capture haunting images. These settings provide natural elements that enhance the eerie atmosphere I aim to achieve in my horror photography.
Abandoned Buildings and Ruins
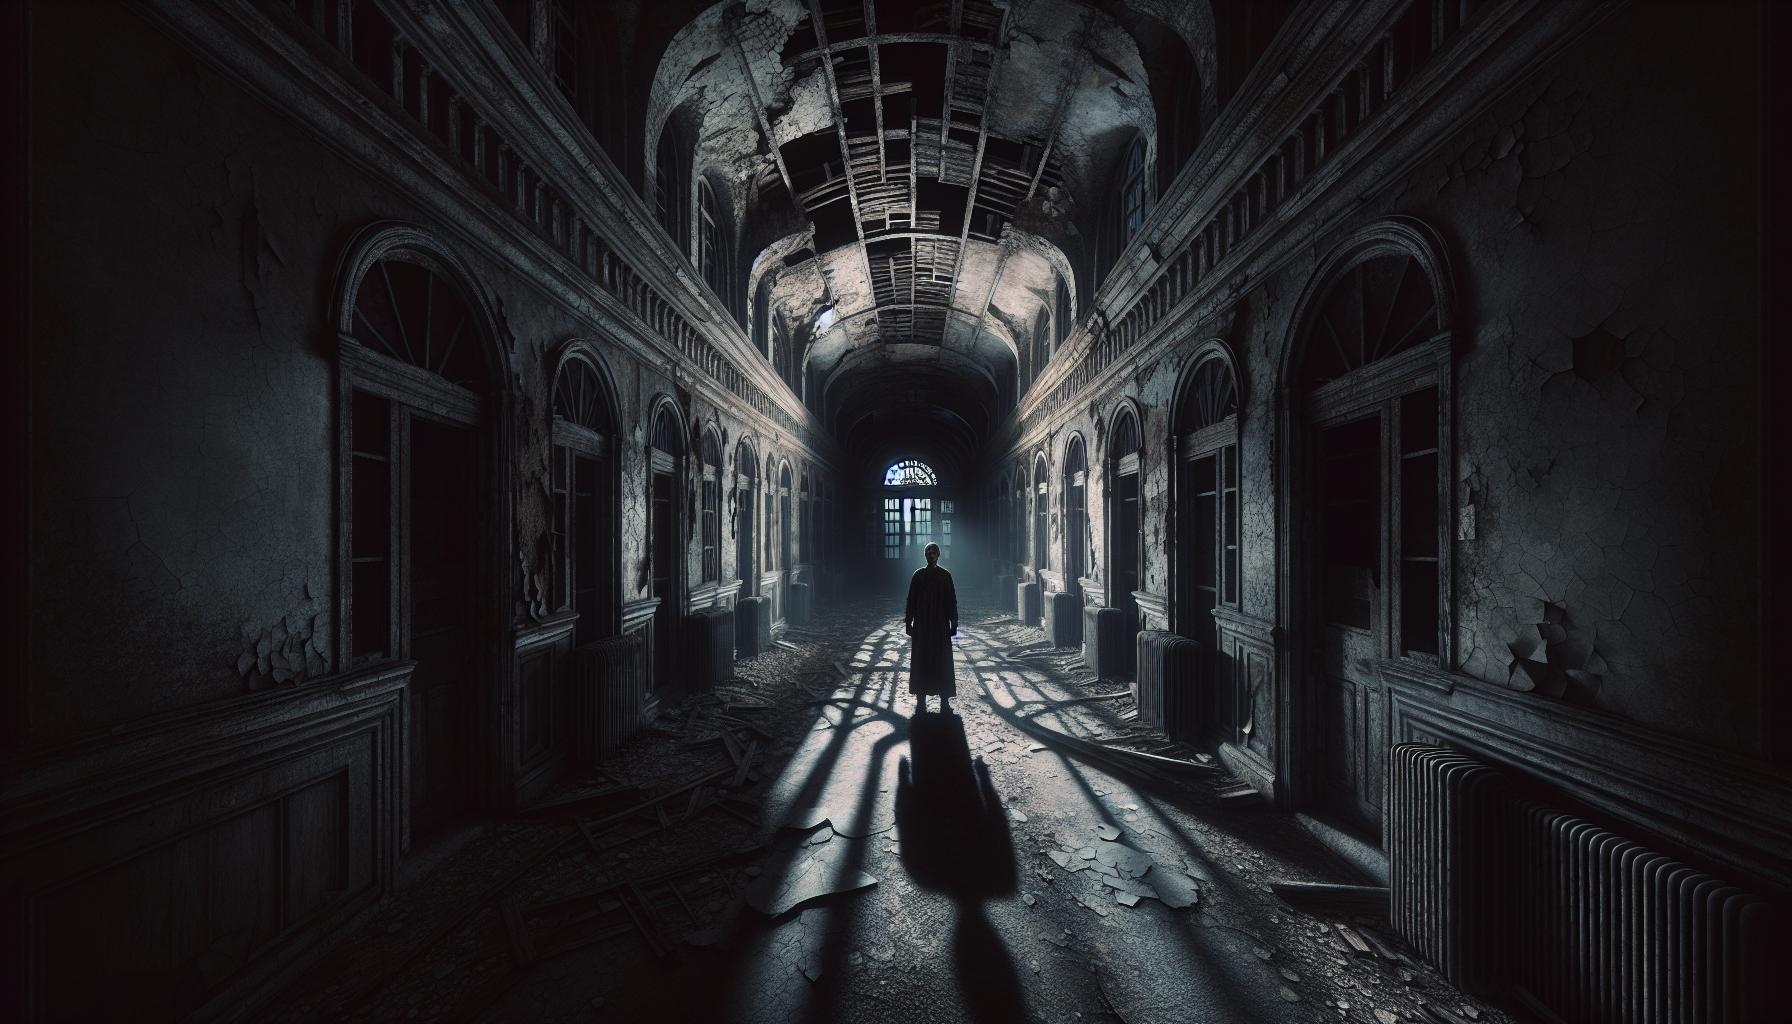
Abandoned buildings offer compelling scenes for scary photography with their decaying architecture, broken windows, peeling paint. I focus on capturing the deteriorating hallways, rusty machinery, and crumbling walls to create a sense of isolation and despair. Empty hospitals, deserted factories, and forgotten mansions present ideal shooting locations, especially during early morning or dusk when natural light filters through broken windows. The remnants of human activity, such as old furniture or scattered personal items, add layers of narrative to my horror compositions.
Dark Forest Settings
Dense forests transform into ideal scary photography locations after sunset or during foggy conditions. I leverage the natural elements like twisted branches, gnarled tree trunks, and thick undergrowth to create menacing shapes and shadows. Shooting in forests during the blue hour (30 minutes before sunrise or after sunset) produces an otherworldly atmosphere with deep blues and purples. Fallen logs, moss-covered stones, and dense fog banks serve as perfect elements for creating depth and mystery in forest horror shots.
| Best Times for Forest Photography | Lighting Conditions | Mood Effect |
|---|---|---|
| Dawn (Blue Hour) | Diffused, cool light | Mysterious, ethereal |
| Dusk (Golden Hour) | Warm, directional light | Ominous, threatening |
| Foggy Mornings | Scattered, soft light | Eerie, supernatural |
| Overcast Days | Even, shadowless light | Gloomy, foreboding |
Props and Subjects for Spooky Images
I enhance my scary photography by incorporating strategic props and carefully selected subjects to create genuinely unsettling images. These elements form the foundation of creating memorable horror photographs that resonate with viewers’ deepest fears.
Working With Models and Costumes
I collaborate with models who understand the nuances of horror poses, expressions, and movements. Models wear vintage Victorian dresses, tattered wedding gowns, or period costumes that align with classic horror themes. I direct my subjects to create unnatural poses like twisted limbs, arched backs, or crawling positions to generate unsettling compositions. Makeup plays a crucial role – from subtle dark circles to elaborate special effects makeup featuring wounds, decay, or supernatural elements.
Adding Creepy Elements
I incorporate specific props to intensify the horror factor in my scary photography:
- Antique dolls with cracked faces or missing limbs
- Old mirrors that reflect unexpected shadows
- Vintage medical equipment from abandoned hospitals
- Weathered religious artifacts like crosses or rosaries
- Blood-stained items using stage blood or red lighting
- Chains, ropes, or broken shackles positioned strategically
- Animal skulls or taxidermy specimens placed in dark corners
- Torn photographs or damaged personal belongings
- Handwritten notes with cryptic messages
- Damaged children’s toys arranged in disturbing patterns
I position these elements at varying distances from the camera to create depth and intrigue. The props work best when partially obscured by shadows, suggesting rather than revealing their full nature. By combining these elements with appropriate lighting techniques, I create layers of visual horror that draw viewers deeper into each image.
Post-Processing Tips for Horror Effects
Post-processing transforms ordinary images into haunting masterpieces through strategic adjustments in color grading texture elements. I’ve developed specific techniques that enhance the horror elements while maintaining a professional quality in scary photography.
Color Grading for Dark Moods
Color grading sets the emotional foundation of horror imagery. I reduce saturation by 30-40% to create a desaturated look then adjust the color balance toward cool blue-green tones in the shadows. Deepening the blacks by -15 to -20 in the tone curve creates rich darkness while slightly lifting the shadows (+5) preserves subtle details. I often split-tone my images with deep purple in the shadows (15% saturation) and a subtle green tint in the highlights (5% saturation) to achieve an otherworldly feel.
Adding Texture and Grain
- Adding motion blur (2-3 pixels) to grain layers for a more organic feel
- Applying high pass sharpening (2.5 radius) selectively to emphasize textures
- Creating vignettes with -25 exposure darkening toward edges
- Using adjustment brushes to add local contrast (+15) in focal areas
- Incorporating dust speck overlays at 10% opacity for aged effects
| Effect Type | Recommended Settings |
|---|---|
| Grain Amount | 25-35% |
| Texture Opacity | 15-20% |
| Vignette Darkness | -25 exposure |
| Local Contrast | +15 |
| Shadow Desaturation | -30-40% |
Conclusion
Creating spine-chilling photographs isn’t just about capturing dark scenes – it’s about mastering the delicate art of visual storytelling through fear. I’ve found that successful scary photography requires a perfect blend of technical skill intuitive understanding and psychological insight.
Through my experiences I’ve learned that the most haunting images often emerge when we push beyond conventional photography rules. Whether you’re shooting in abandoned asylums or misty forests the key lies in manipulating light shadow and composition to tap into our deepest fears.
I encourage you to experiment with these techniques and develop your unique style in horror photography. Remember: the most powerful scary photos don’t just show darkness – they make viewers feel it.